Time to read: 5 minutes. —
Aah, Christmas! The perfect time of year to let your creativity run wild and deck the halls with unique, handmade decorations. Here are 4 DIY decoration ideas for Christmas, easy and original, from the tree to the table! Whether you’re a decorating addict, no-waste adept or simply looking for fun activities to share with the family, these inspirations will turn your holiday season into a real Christmas tale. So to your scissors and glue!
Table Of Contents
1. Christmas Tree Decoration: Scrabble Ornament
Trendy, customizable and for any wallet! Let’s make your own Christmas tree ornament with words made out of Scrabble letters. Decorate your tree with little words, like classic Christmas sayings (“Let It Snow”, or “Merry Christmas”) or the names of your loved ones. It’s a DIY that can easily be done with your kids!
For this DIY, you’ll need:
- Scrabble letters (you can recycle your old board games, or buy some online as they are very cheap).
- Felt sheets
- Glue
- Pen
- Small decorations such as bows, fake snow, etc.
- Ribbon or string
- Start by choosing and assembling the words you want to hang. Position the letters on a sheet of felt in any way you like (you can even mix and match, Scrabble-style!)
- Using your pen, trace the outline of your words so you have a pattern on your felt sheet.
- Cut out your pattern inside the lines, so that your cut-out is smaller than your original outline.
- Then simply glue your letters onto your cut-out felt to assemble your words!
- Let’s customize! You can glue little bows, fake snow, glitter, to your cut-out. And don’t forget to glue a little loop of ribbon or string to the back so you can hang your personalized Christmas ornament!
2. Customized Christmas Ornament: Hanging Teacup

Another creative and original DIY tutorial for kids! We’re continuing our Christmas tree decoration theme with an ornamental teacup.
For this tutorial, get your hands on:
- A teacup
- Paint and brushes
- Glue
- Little Christmas decoration trinkets
- A rubbon
- Pick a cup that’s not too heavy, so you can hang it on your tree. You can choose a cup with a design you already like, or go for a shape you like that you can personalize later.
- Customize your cup to your taste by painting the inside and outside. You can select colors that match the rest of your decor this year!
- Create a small decorative scene on the inside of your cup by gluing small trinkets, such as pine trees, snowmen or even candy canes. You can choose to have them stick out of your cup, or tilt your cup (with the handle up) to display the scene inside, like a picture frame. Let your imagination run wild!
- All that’s left to do is wrap the ribbon around the cup handle and hang your personalized bauble on the tree!
3. Creates Your Own Snow Globe From Recycled Old Jars

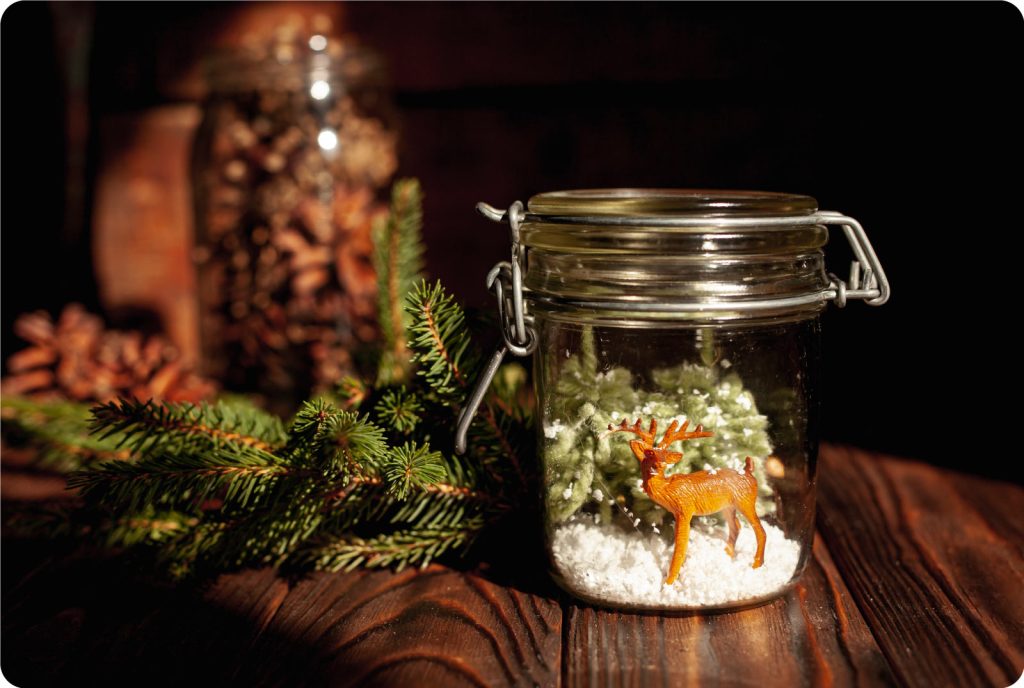
Snow globes are a Christmas classic. Kids love them, and adults do too! With this DIY tutorial, discover how to make your own personalized snow globes from recycled jars.
For this tutorial, here’s your list to Santa:
- A glass jar (for example, an old jam jar or pickle jar)
- Little decoration trinkets
- Glycerin
- Fake snowflakes or silver glitter
- Water
- Once you’ve cleaned your jar thoroughly, choose where you’d like to place your scene: you can glue the elements to the underside of the lid or to the bottom of the jar, whichever is easier for you
- Design your own little scene, with a snowman, a little deer, a pine tree… Pick trinkets that will withstand prolonged exposure to water.
- Then, fill your jar with water and a little glycerine, and add the fake snowflakes and glitter.
- Close with the lid, turn your jar over and discover your customized snow globe in action!
4. Reuse Tin Cans As Candles

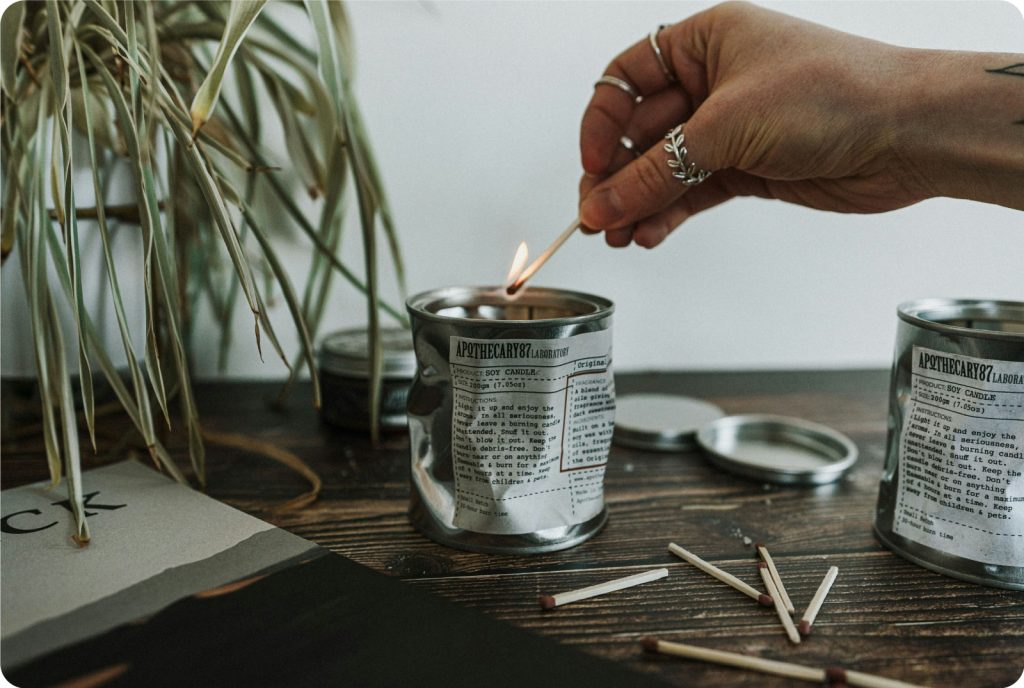
For our latest DIY, let’s keep on with the recycling trend by reusing tin cans as customized candles! Get ready for cosy evenings under the plaid with these decorative DIY candles.
To craft your candles, you will need:
- To craft your candles, you will need:
- A tin can (small, medium or large, everything works!)
- Candle wicks (available online)
- A saucepan
- A pen or chopsticks
- Once you’ve cleaned your cans thoroughly, place your wicks at the bottom, using a pen or chopsticks extended across the top of the can to hold them upright (you can wrap them around to secure them). To make this easier, opt for wicks that are taller than your can. Depending on the circumference of your can, you can use up to 3 wicks, positioned in a triangle, for example.
- In a saucepan (as it is quite messy, we recommend an old saucepan you no longer use!), melt the wax pieces from your candles over low heat. Make sure the wax thoroughly and turns liquid!
- Very gently pour the melted wax into your can, taking care not to move the wicks (you can ask for help around you if you want to secure them during the transfer).
- All that’s left to do is to place your candle in a quiet corner while the wax hardens. Don’t forget to trim off the excess wick once your candle has solidified!
- A little bonus: personalization! Feel free to paint your tin cans, add ribbons or tartan motifs, and create your very own customized Christmas candle!
With these 4 DIY decoration ideas for Christmas, your holiday decorations will be as memorable as the moments spent making them! From Scrabble letters to hang on your tree to snow globes created from recycled jars, each creation is an opportunity to share magical moments with your loved ones. These projects are not only original, they’re also a step towards green decor.
To go along these festive moments, discover our Spotify Christmas playlist: enchanting tunes for your creative moments, to warm the atmosphere of your home. 🎄✨
Need some inspiration for your gifts this year? Discover SMART AND GREEN Gift Guide!

